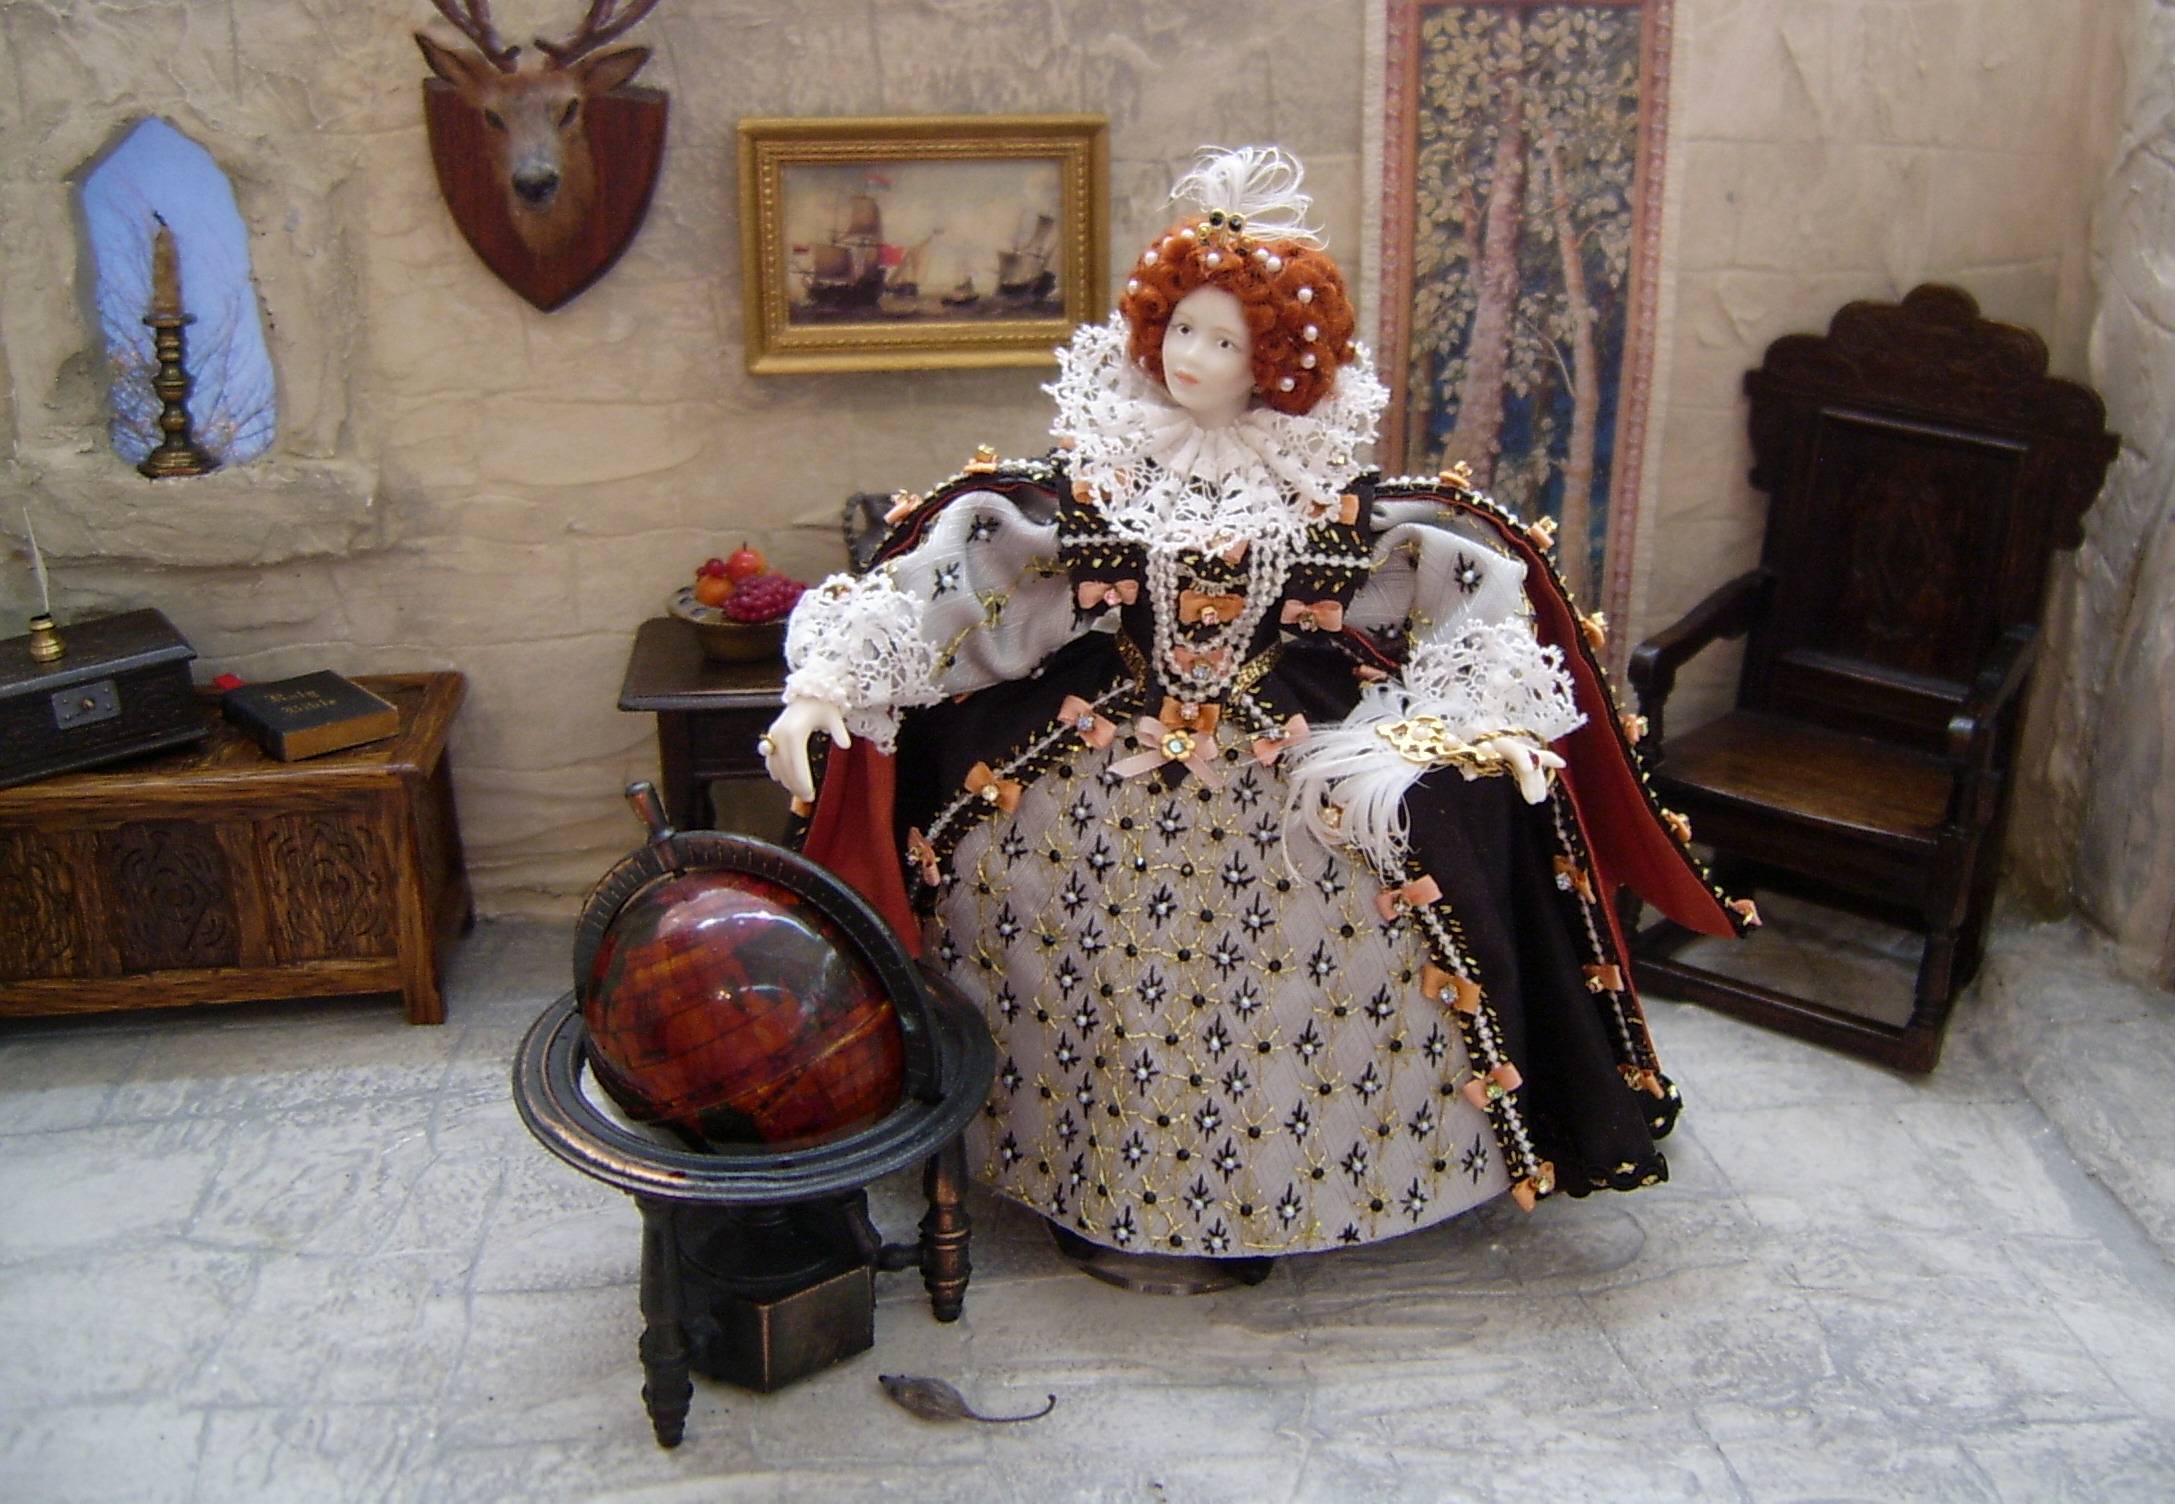
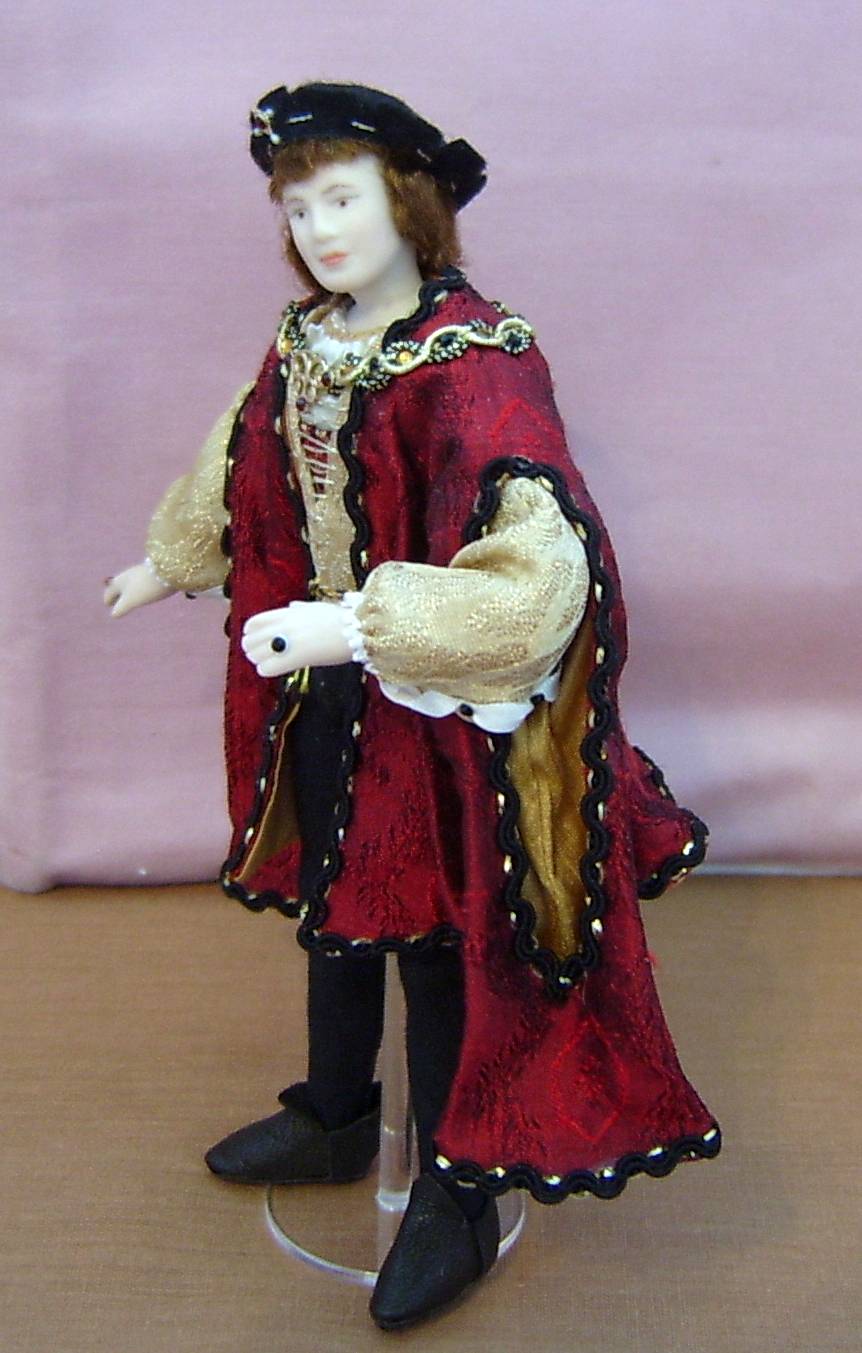
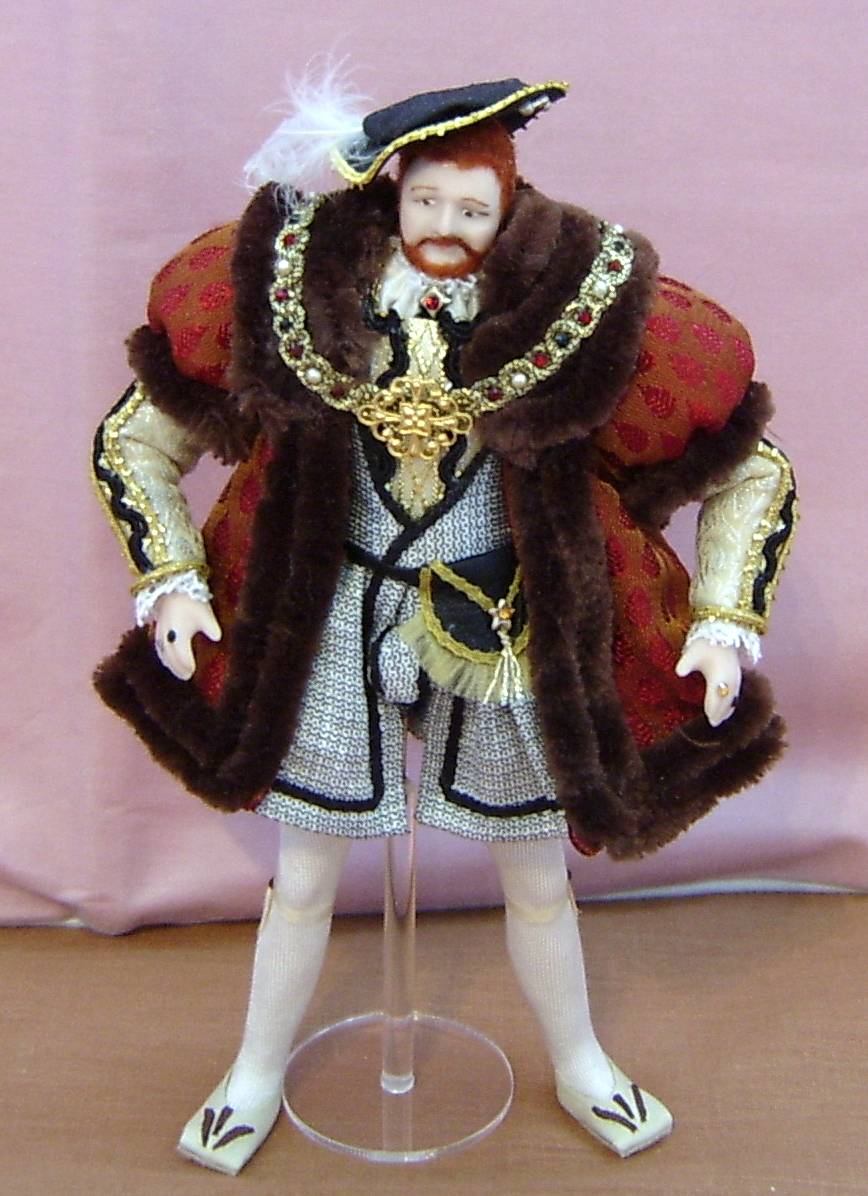
The completed costume. King Richard III, every inch a true King of England.

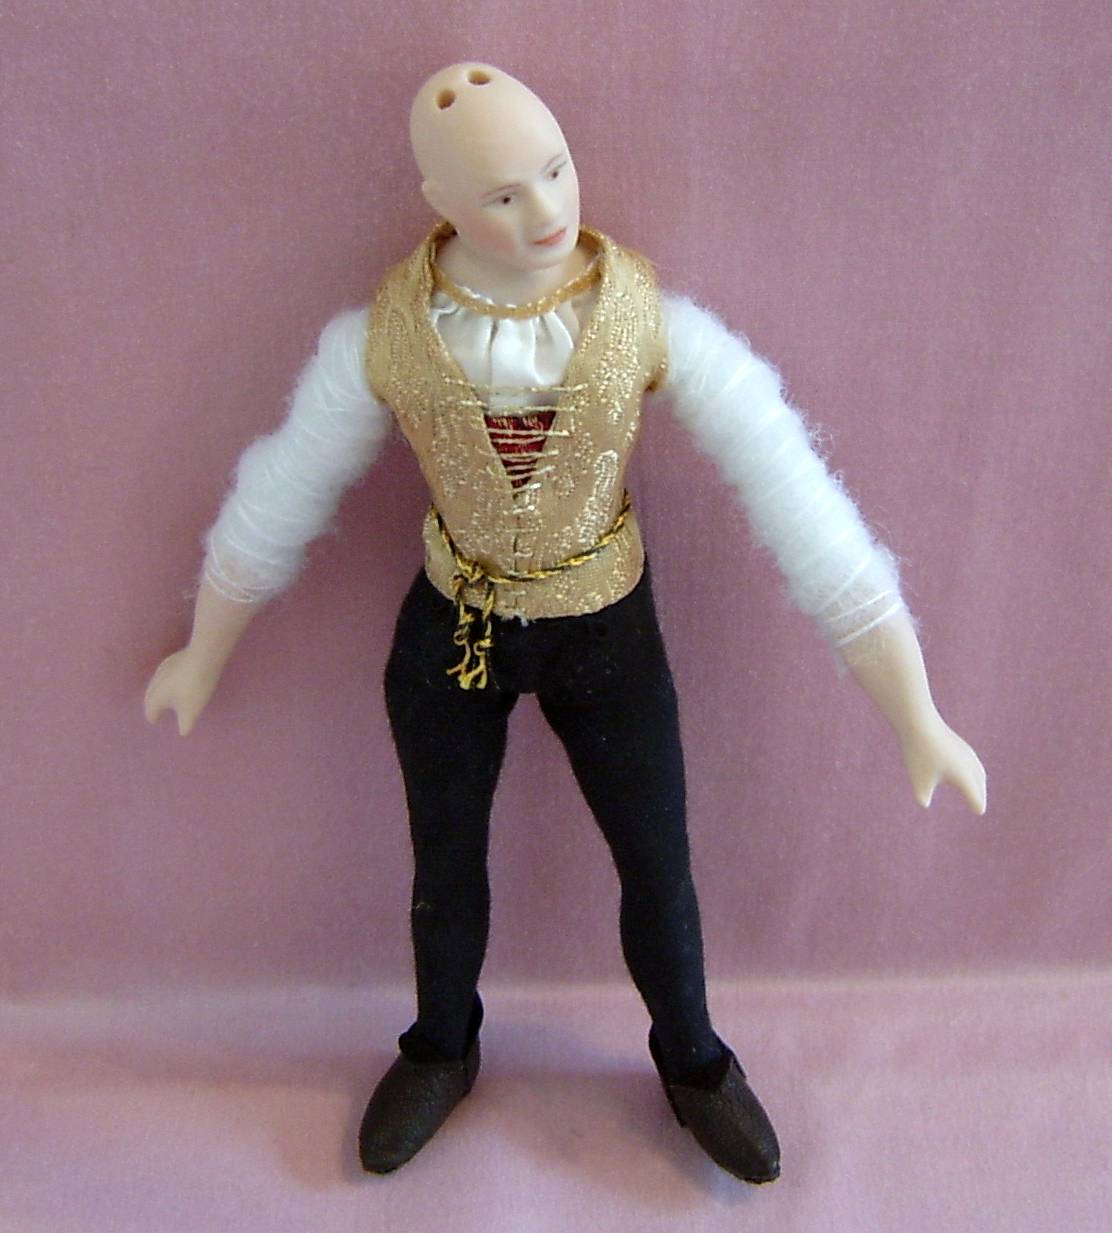
Richard III costume on 17 inch male Tonner doll.
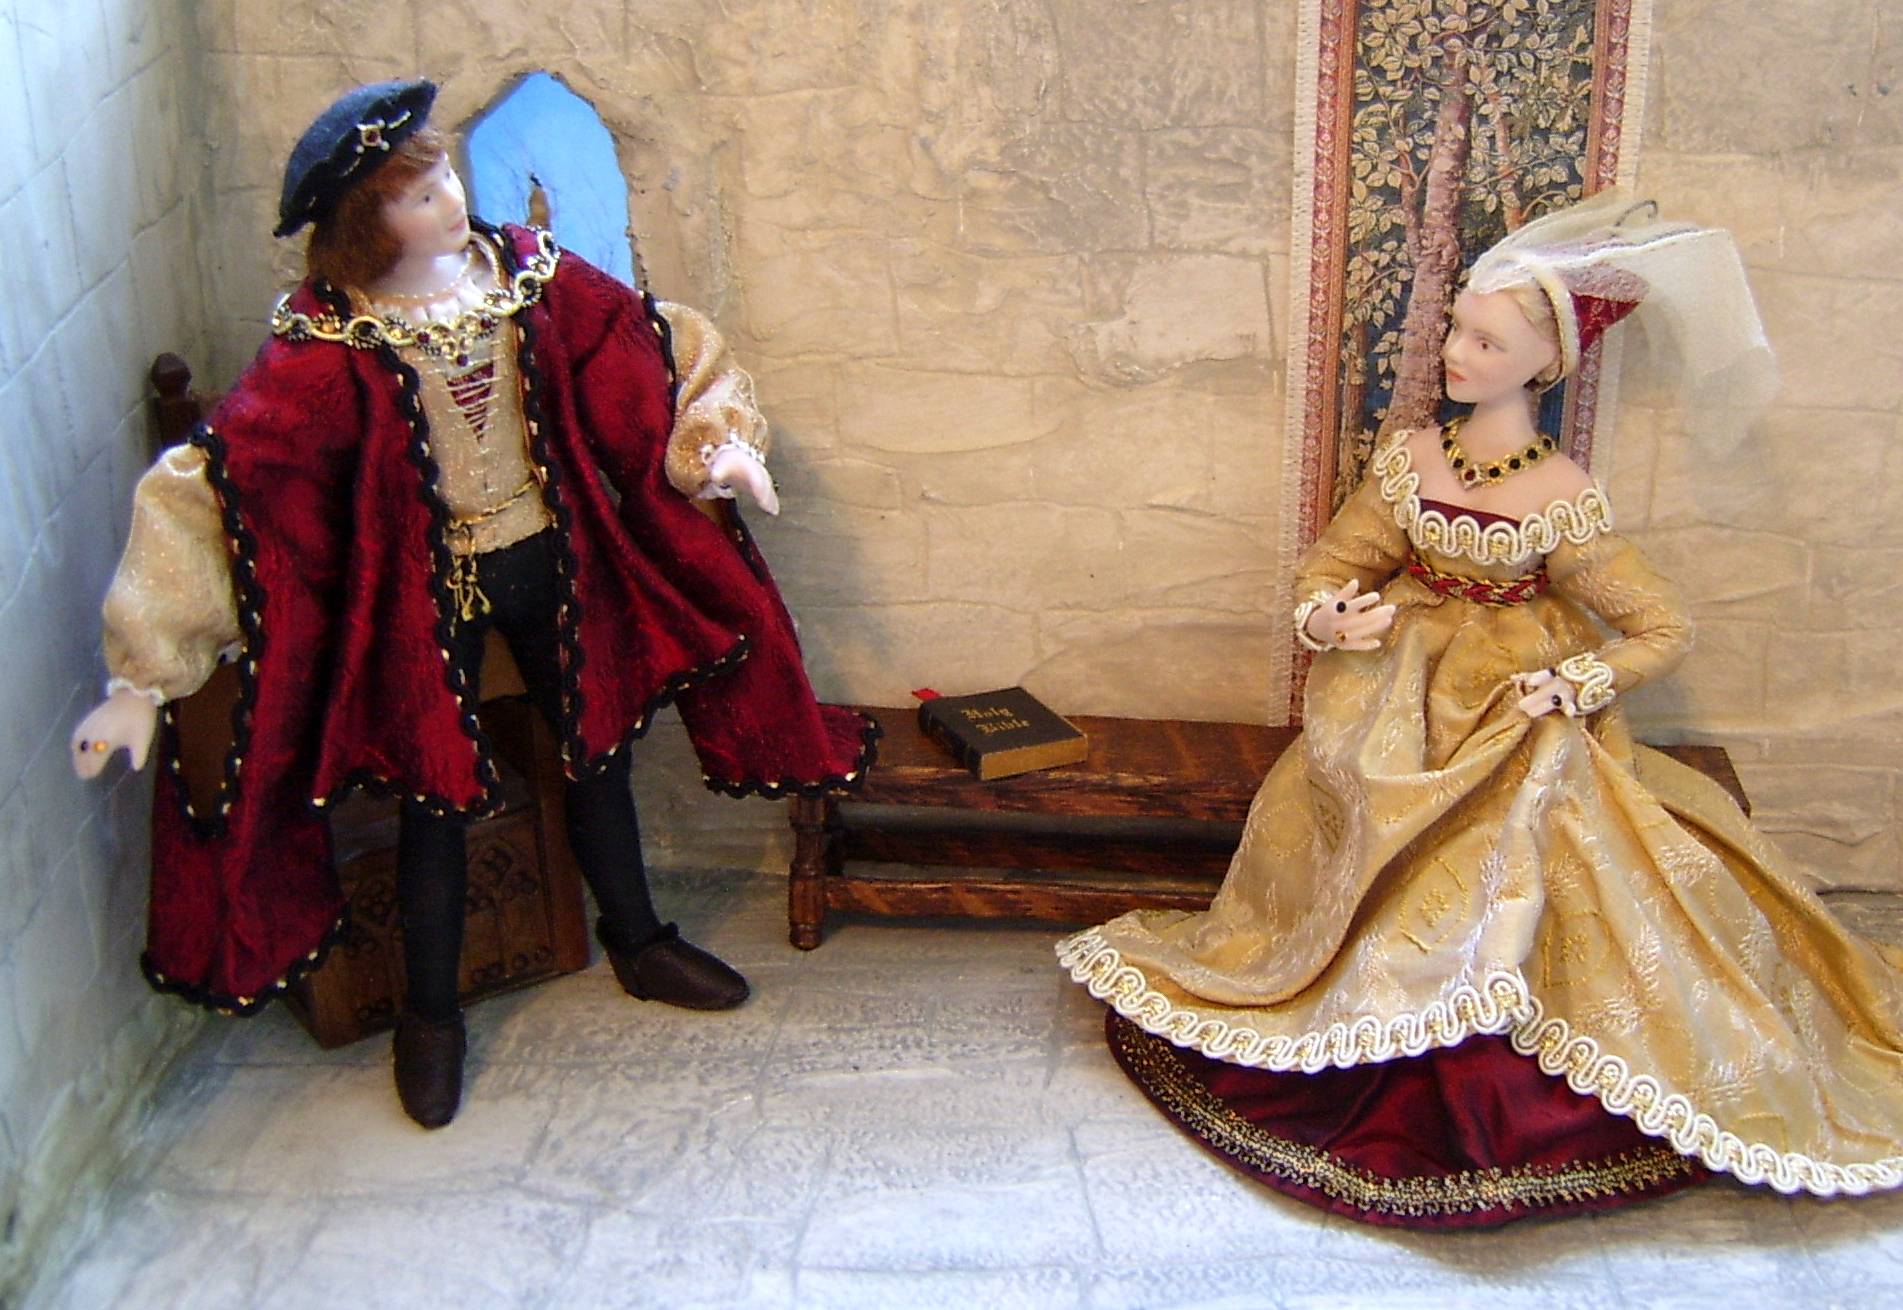
The reburial of King Richard III has fired many people’s creative interest, including my own. So after making miniature dolls of this King (and his wife Queen Anne Neville), I longed to have the challenge of making a medieval man’s outfit for a larger doll.

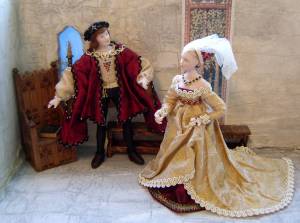
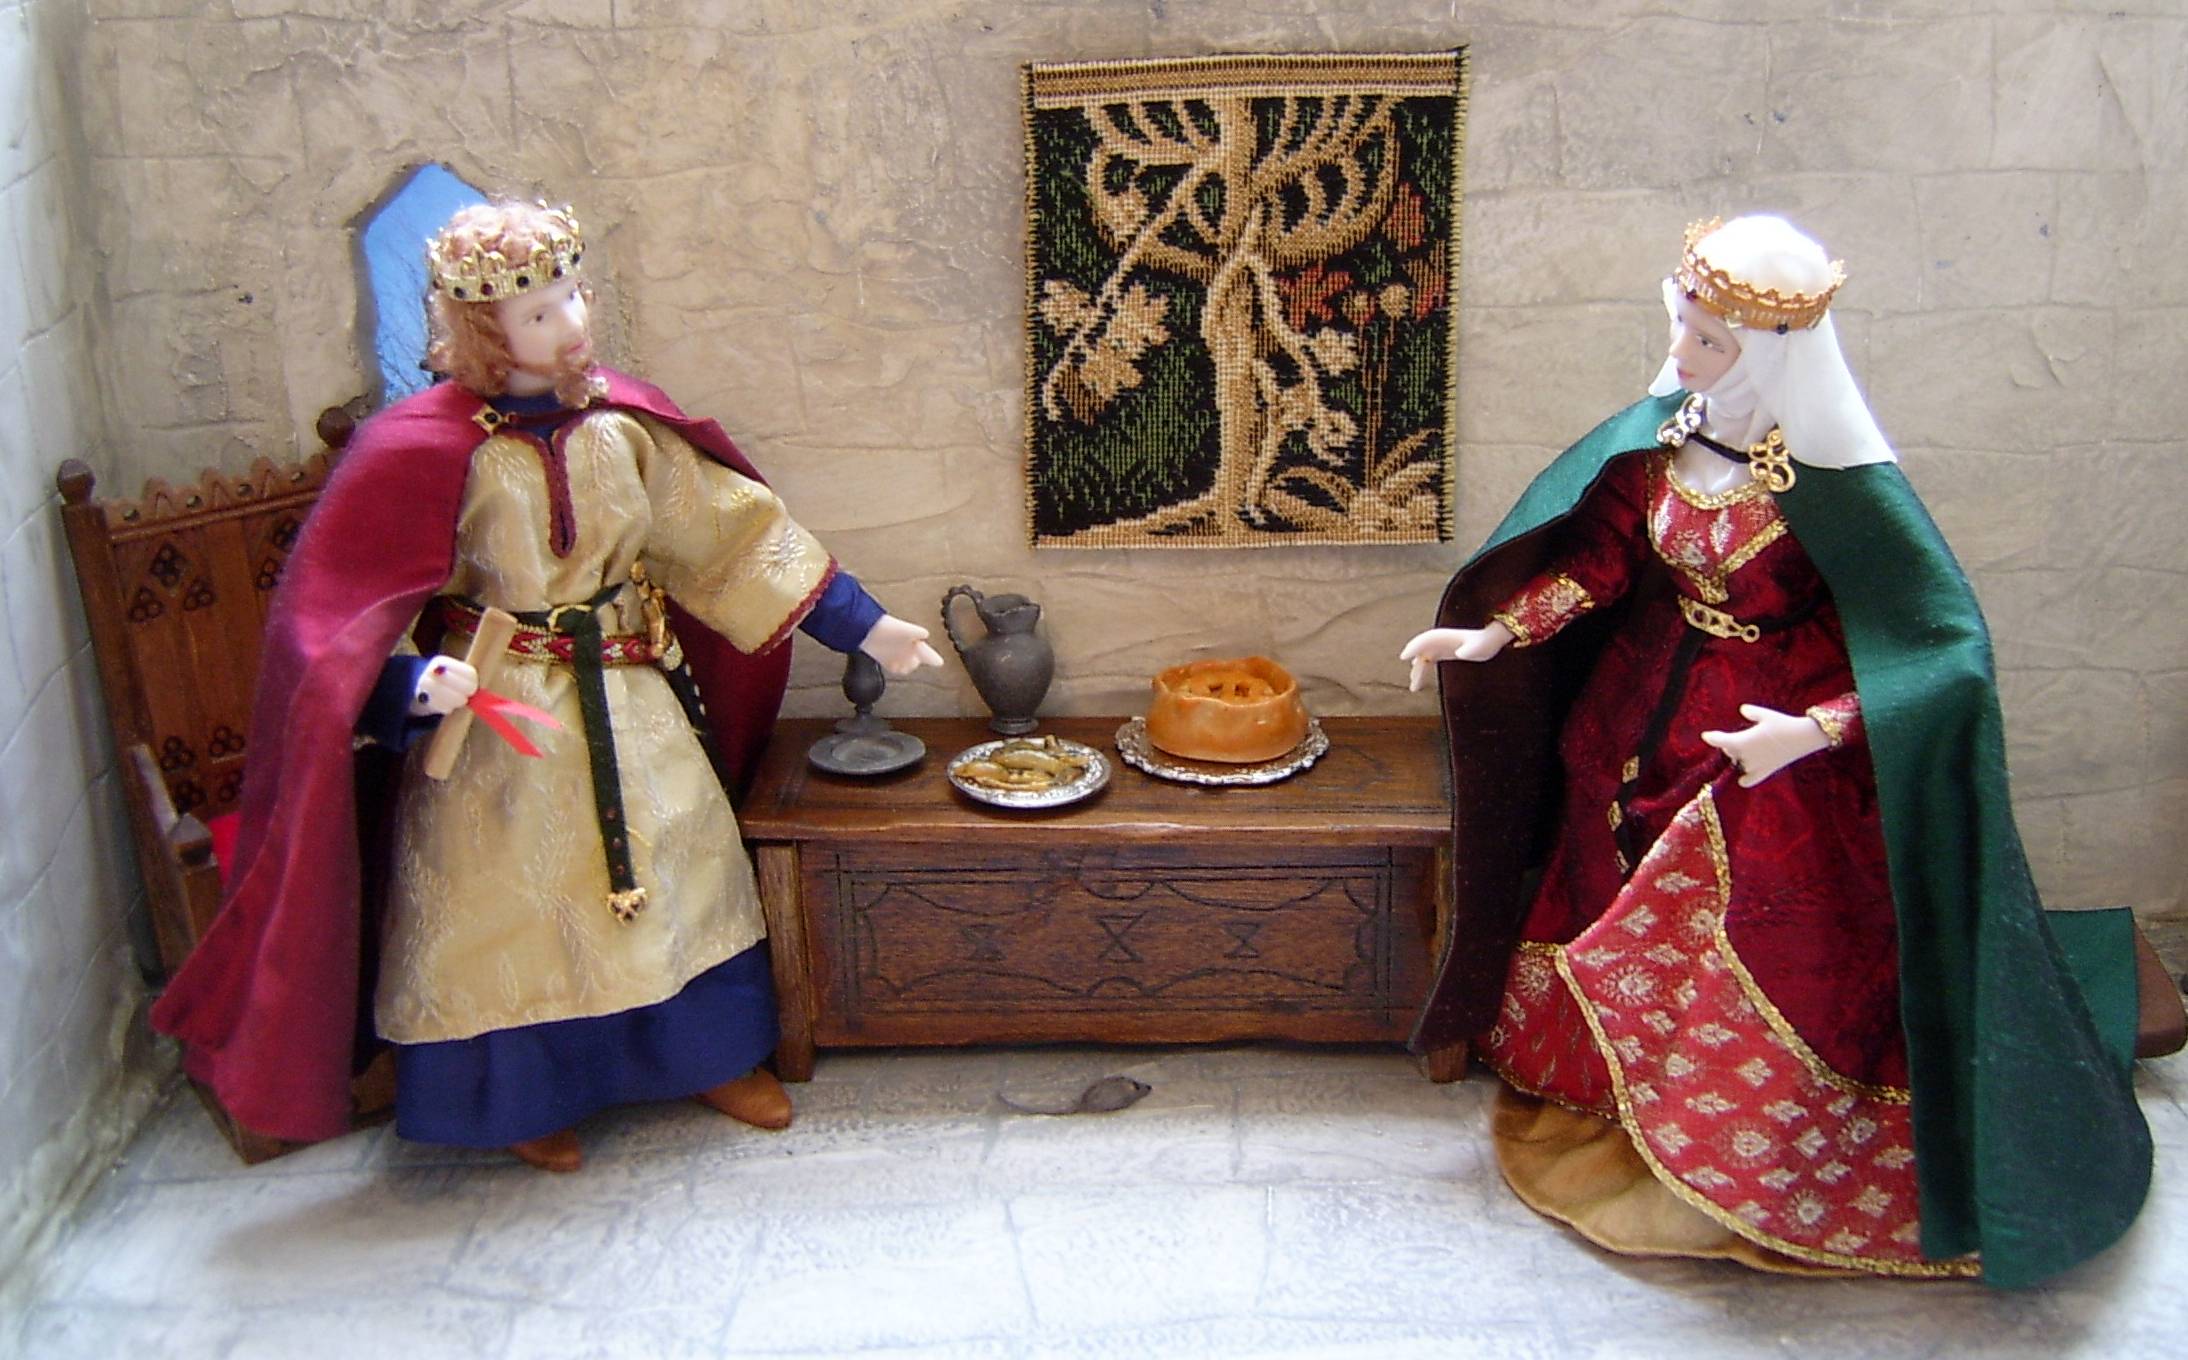
Richard looks like he is deep in conversation with Anne…..I wonder what they might be talking about.
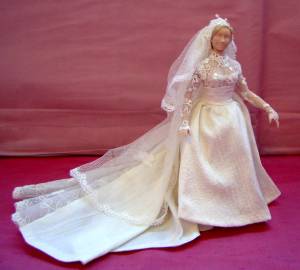
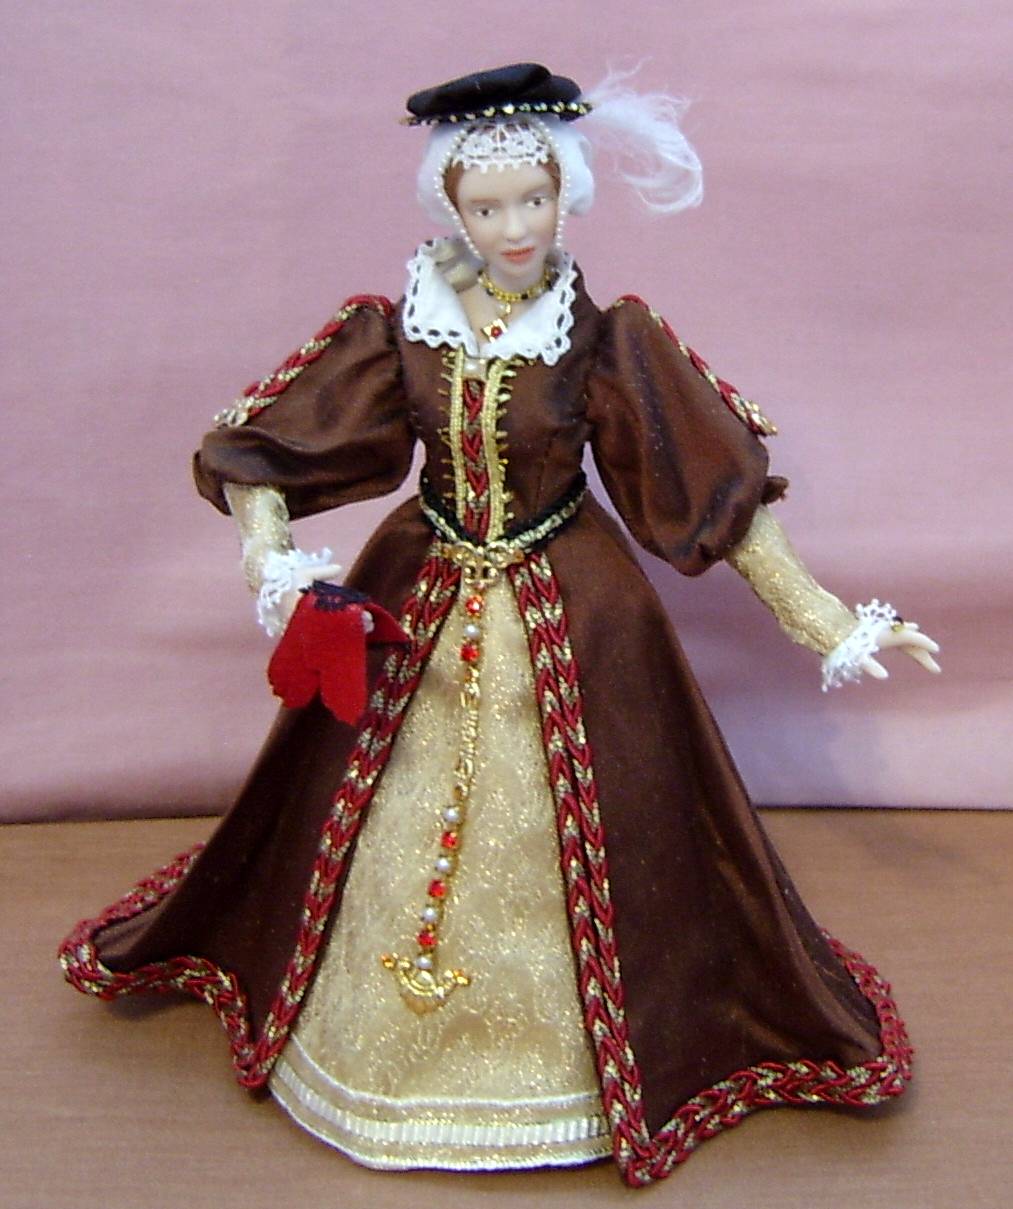
Last year I set myself the challenge of creating a Tudor Anne Boleyn costume for a 16 inch doll, and this went well. But I really do like creating historical costumes for male dolls too as I love making men’s fashions.

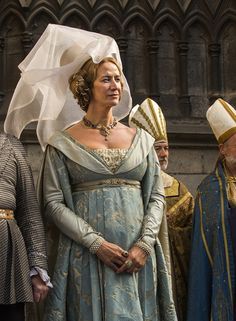
Anne Boleyn costume for a 16 inch fashion doll.
So imagine my absolute joy when one of my customers commissioned me to create a Richard III costume for her 17 inch male doll…there was much happy dancing!
With most of my existing male doll pattern pieces being more Victorian to modern day in style, I knew I would have to make some totally new ones. So I decided to make each of them as required.

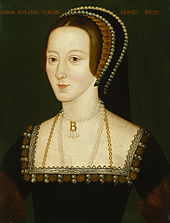
Portrait of King Richard III of England.
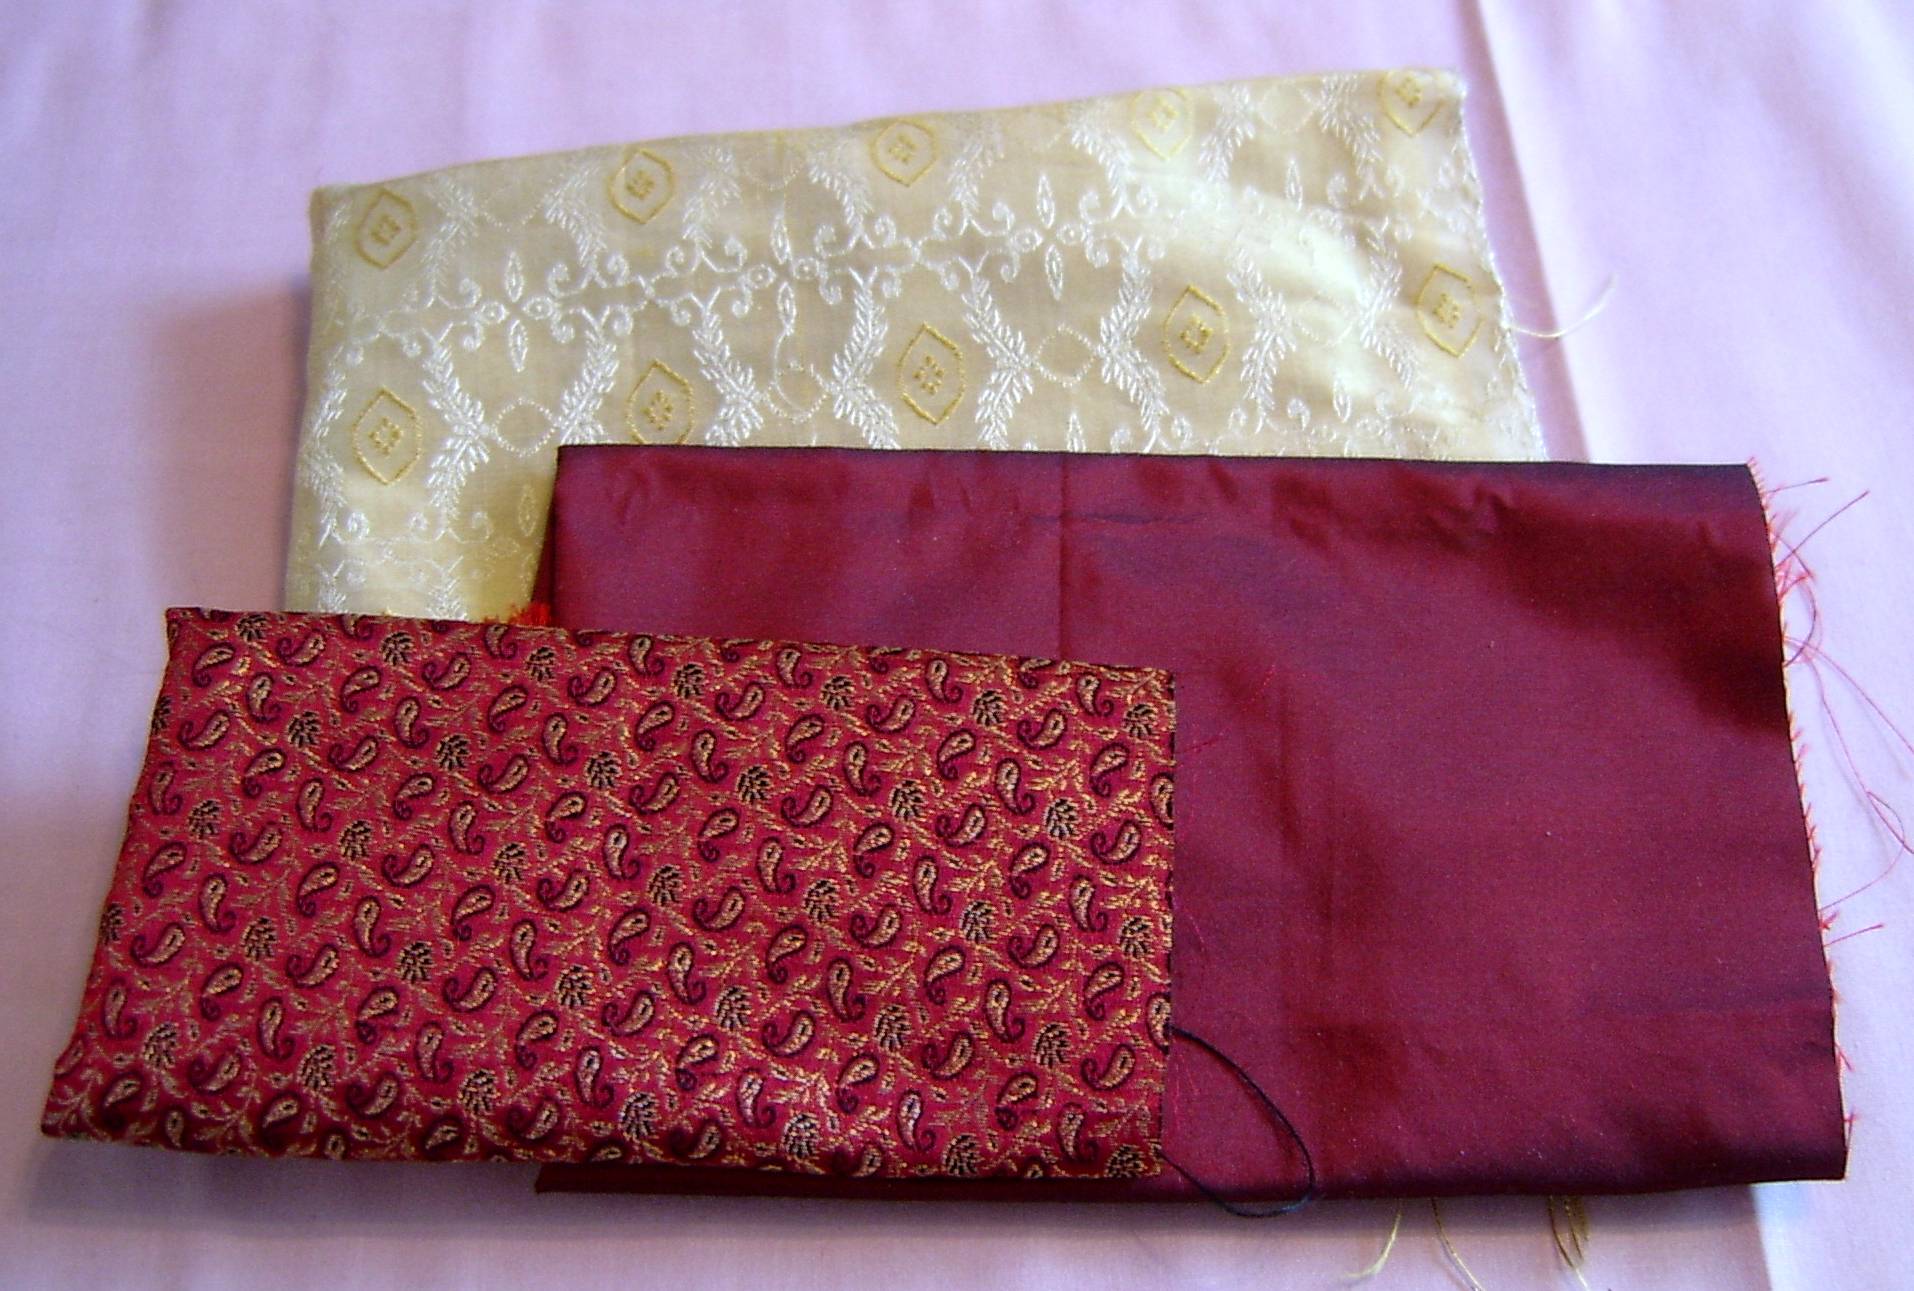
But first, I needed to choose suitable fabric for such a sumptuous costume. My customer had asked me to base the costume on the well known portrait of Richard, or as near as possible. Whilst the portrait is just a head and shoulders picture, it is possible to work out what the rest of his outfit might be, from historical records of clothing worn at the time.

Main fabrics chosen for the Richard III costume.
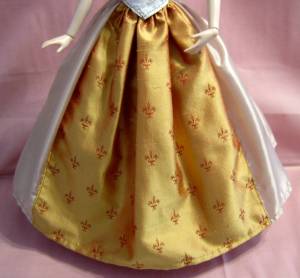
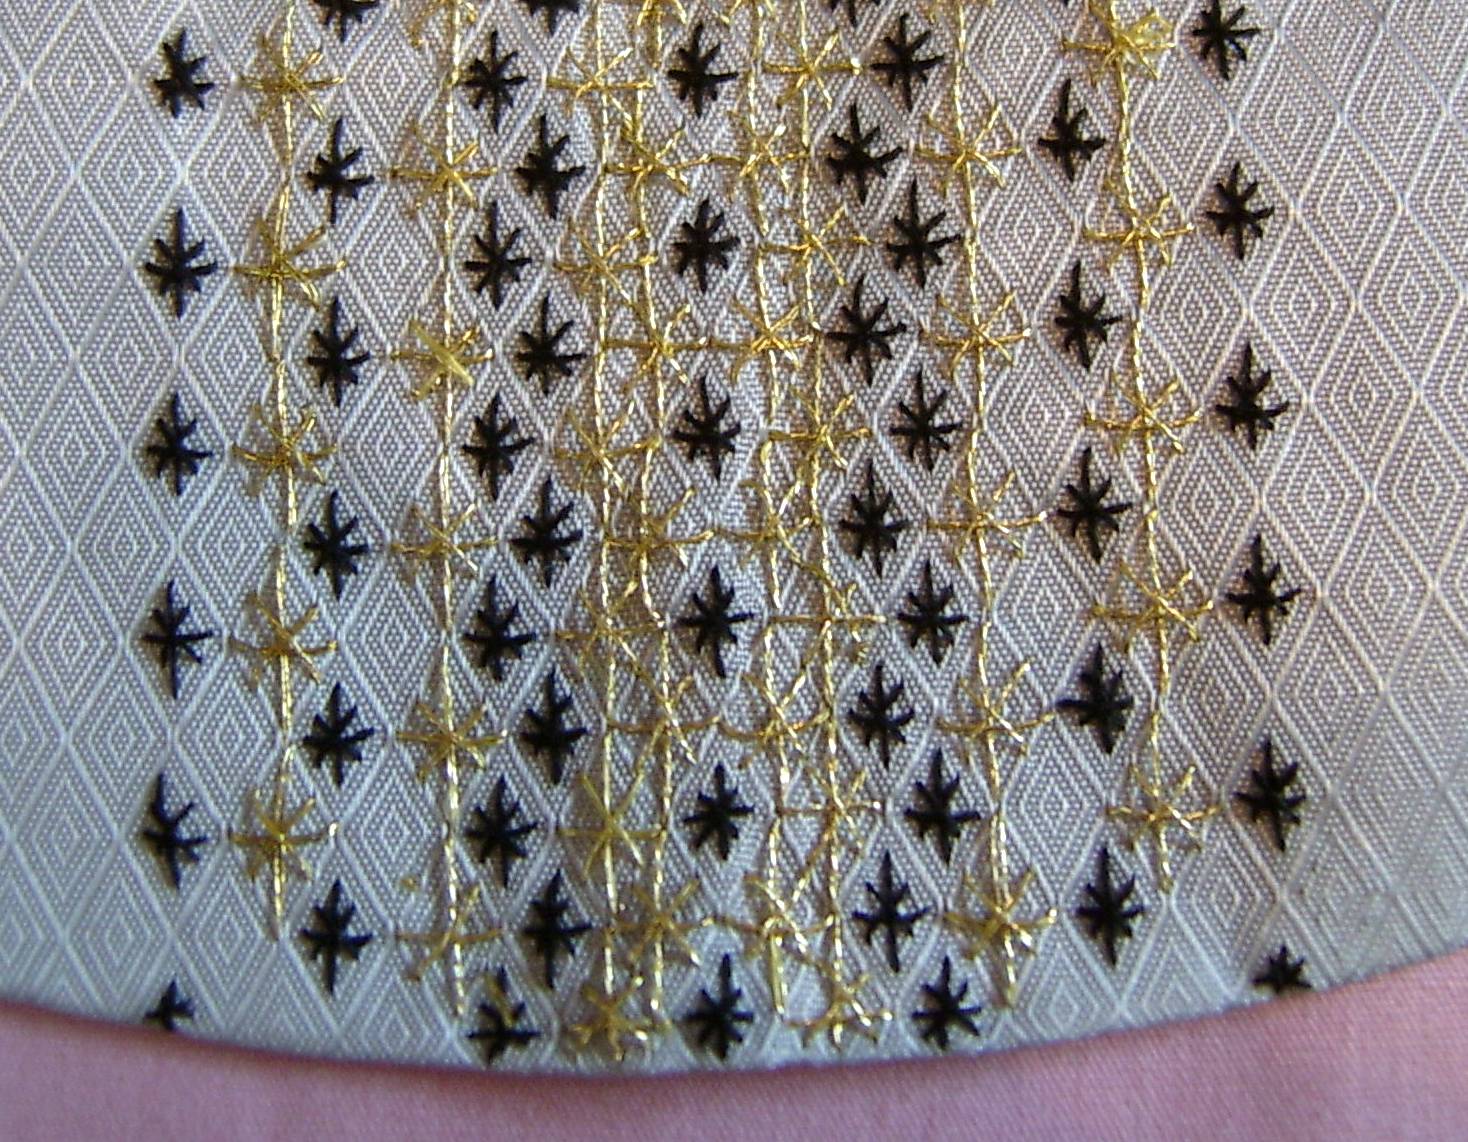
For his outer robe, I chose a silk of two-tone gold, shot with claret red and with a tiny fleur de lys pattern. This fabric was the perfect scale for that size of doll.
A dark burgundy/brown silk with an interesting border was chosen for the robe lining and I decided to use the lavish gold border for the turn-backs on the front of the robe.
The other main fabric I chose was a deep red silk jacquard for his doublet, along with several other fabrics which were pulled from my stash for possible use on other costume parts.
With pencil and tape measure in hand and my own male doll of the same size to use for fitting, I made a start. First to be made was a shirt, with a gathered neckline and very full sleeves ending in a close-fitting lace-trimmed cuff. For this, I used a soft silky ivory coloured lining.
It is always very important with doll clothing to avoid adding unnecessary bulk, so sometimes clothing for dolls has to be made differently than for a real human. The shirt was no exception, being made shorter in length and also fastening at the back for ease of dressing.

The full sleeved shirt with gathered neckline.
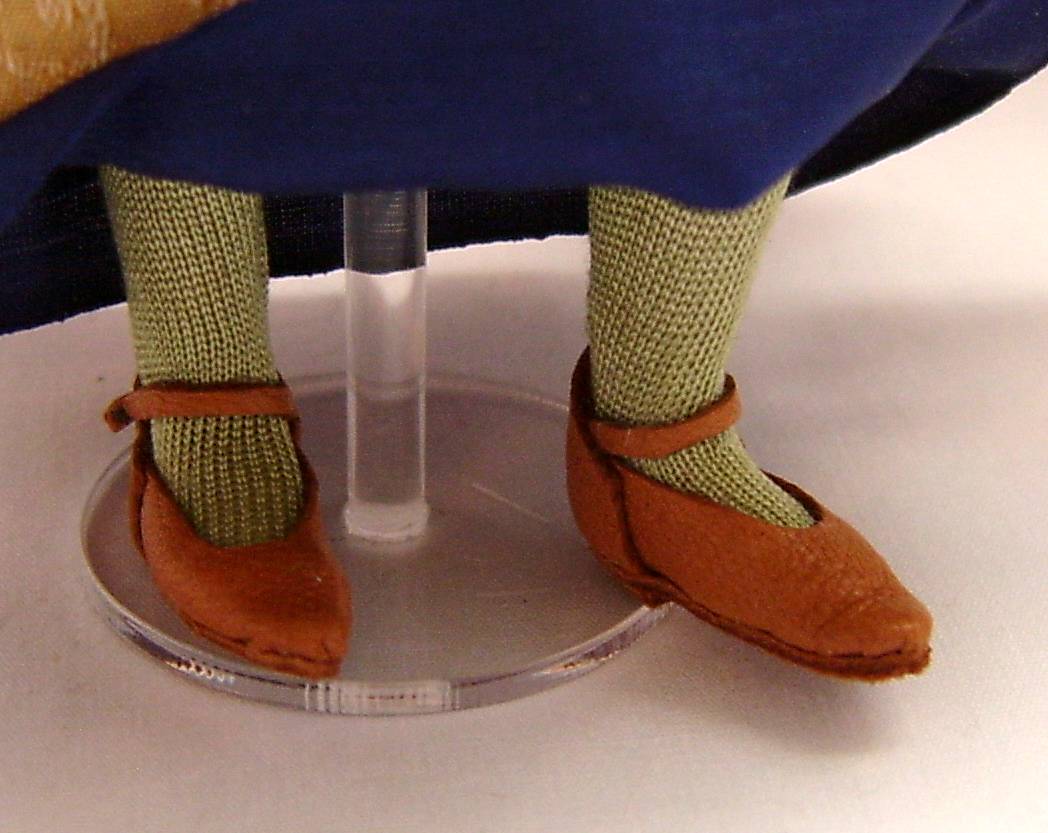
For the hosen (tights), I used a two way stretch cotton viscose jersey fabric in a subtle shade of pale sage. Back in the 15th century, life size hosen would have been attached to the doublet by means of ties to hold them up. The centre front seam would also have been open with the triangular flap (codpiece) laced over it.
Since this would have been extremely difficult to dress onto a doll of this size, I decided to make a pair of tights, with elasticated waist and a false codpiece, and I found that this gave the right look for the doll.

‘Hosen’ or tights with false codpiece.

Close up of the false codpiece showing mock ties.
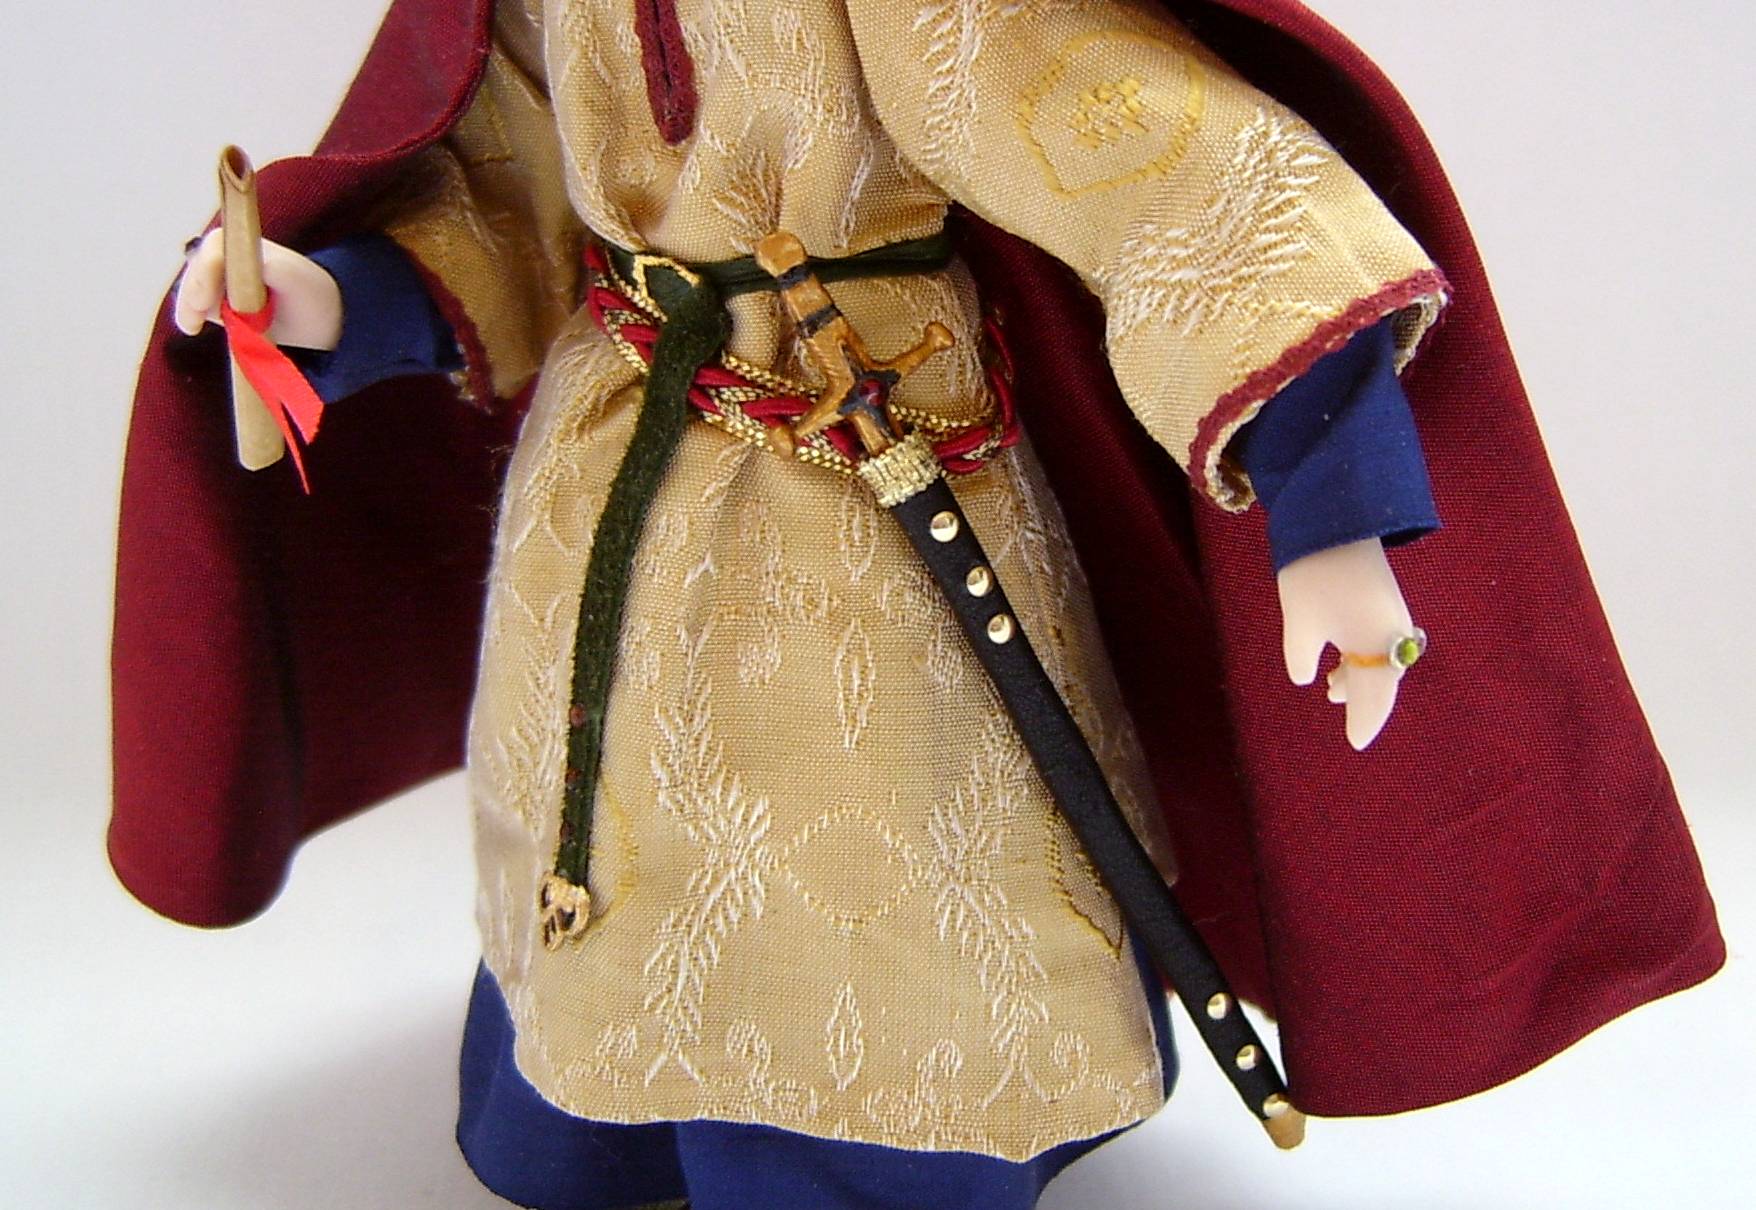
The doublet was made in red silk jacquard and lined in pale ivory, with a false corset of gold brocade underneath the cord lacing at the front. Again, the reason for the false corset was to avoid unnecessary bulk.
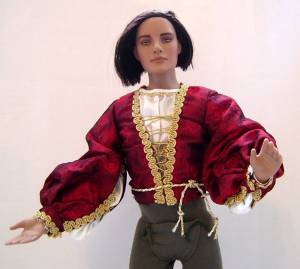
The red jacquard doublet.
The sleeves of the doublet are quite full and end in a tightly fitting cuff with snap closures. Each sleeve is split, with two openings, so that the sleeves of the shirt can be pulled through to form puffs. The doublet fastens at the back with snaps, for ease of dressing onto the doll.
A tie of fancy cord was secured to the waist of the doublet with two loops stitched at each side.

Close up showing the gold cord lacing over the false corset.
The outer robe caused a few headaches, but I got there in the end. The two silk fabrics used for this, were an absolute dream to work with (silk usually is…and I LOVE working with it!).
My customer had requested a full-length robe, but shorter ones were also seen at this point in history. Whichever length was preferred, the long hanging sleeves were standard.

Side view of the robe showing the long hanging sleeves.
Having made this kind of robe many times in miniature, I had an idea of the pattern shapes I needed to make, and I was pleased with the outcome of the larger version.
The brown silk lining worked well with the fancy gold border, but there was a bit of a ‘hairy moment’ when I wasn’t sure if I had enough of it to do what I wanted to do. Thankfully, with a bit of ‘jiggery-pockery’ with the pattern layout, I just (only just!) managed to get it all out of the fabric.
I found some lovely (and quite manly) braid at my local fabric shop ‘Stitches-upon-Thames’ in Staines, which I used for edging both the ends of the sleeves and the openings.
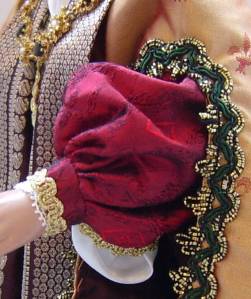
Close up of the doublet sleeve and also the braid used on the robe.
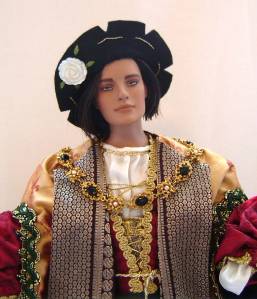
For the shoulder chain, I found a very attractive faux jet and pearl choker in my stash, that just screamed ‘Use me…I look medieval.’ This worked well but needed fixing to hold it in place with a few stitches on one side, and a little loop to thread it through over one shoulder. (The chain hooks together at the back).
The fancy shoulder chain.
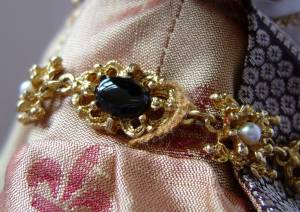
Close up of the hand-stitched loop on one shoulder to help hold the chain in place.
The hat was made from a piece of beautifully fine vintage pure wool felt and was stitched entirely by hand. My customer had supplied the beautiful pearly white rose and I hand embroidered the four little green leaves with gold outlines around it.

White rose decoration and hand-embroidered leaves on hat.
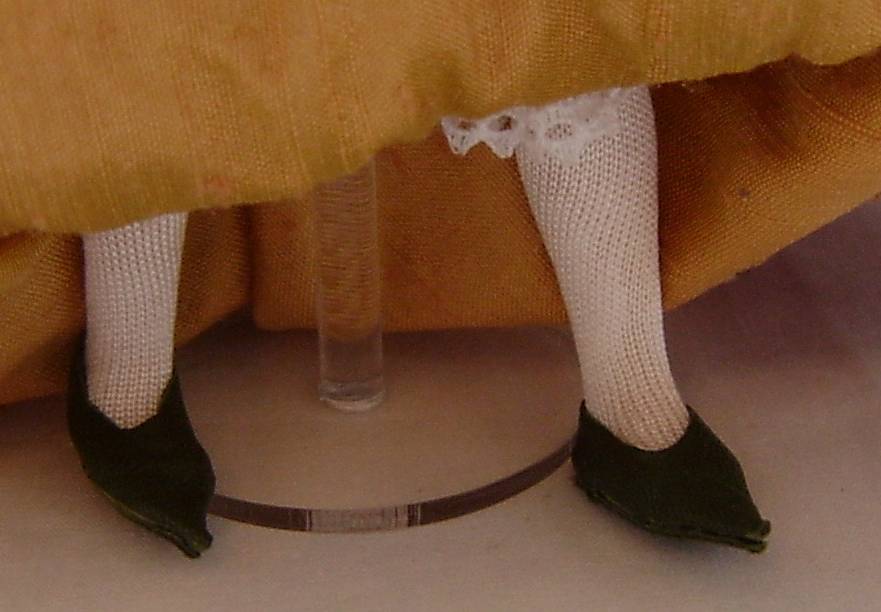
I purposely left the shoes till last, as it had been a very long time since I had made bigger doll shoes. I chose a darker shade of sage for these shoes to tone with the hosen. This very fine soft gloving leather worked well for this style, and enabled me to add a snap fastener opening at the outer side of each shoe.

Front view of shoes.

Side view of shoes showing the side opening.
In total, I made seventeen separate pattern pieces for this outfit, lost count of the number of hours it took to make, but……….I loved every single minute of it (including the ‘hairy’ ones!) and hope to get the chance to do something like this again.
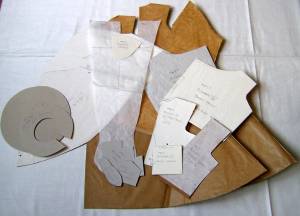
A collection of 17 separate pattern pieces specially made for the creation of this costume.

The completed costume. King Richard III, every inch a true King of England.
If you would like to see the blog I wrote about the miniature King Richard III please click here.
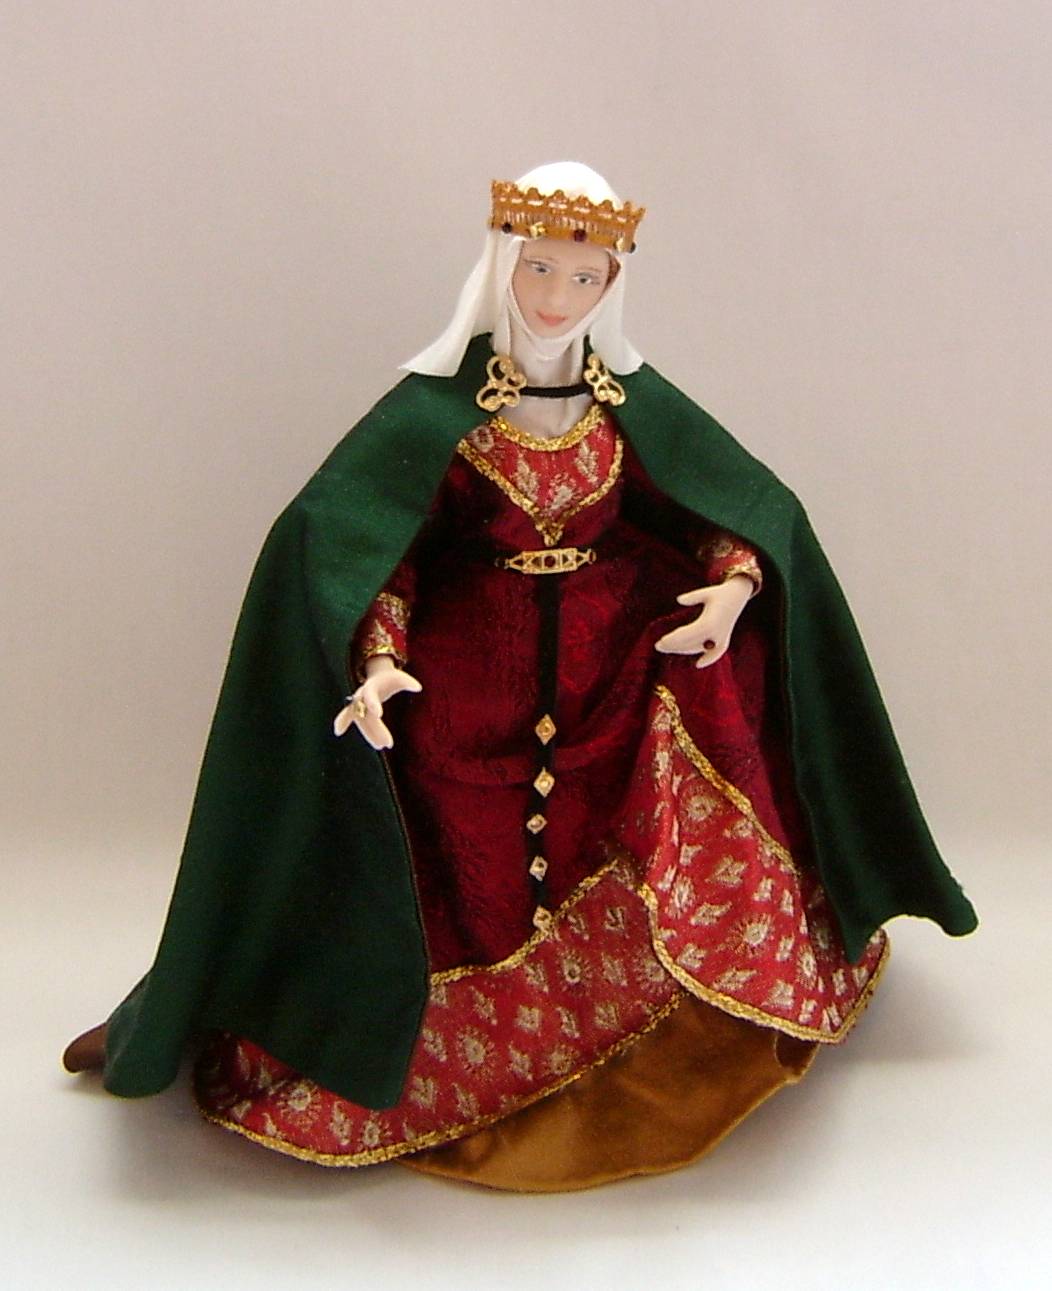
And for his wife Queen Anne Neville please click here.
Please click here if you would like to read about Anne Boleyn costume I made for a 16 inch doll.